
Share :
Share :
Different parts arrive at injection molding in various ways. A few are first using advanced prototype molding, where moldability is less of an issue. Others choose a more traditional machining method, which allows for continuous testing in engineering-grade substances, comparable to molding. Many people get directly into injection molding.
To properly understand injection molding, whether you’re a novice to plastics, looking at your next project, or an engineer, you should first understand the fundamentals of how it all works. In this essay, we’ll try to keep things as basic as practicable to help you understand everything that goes into molding plastic components.
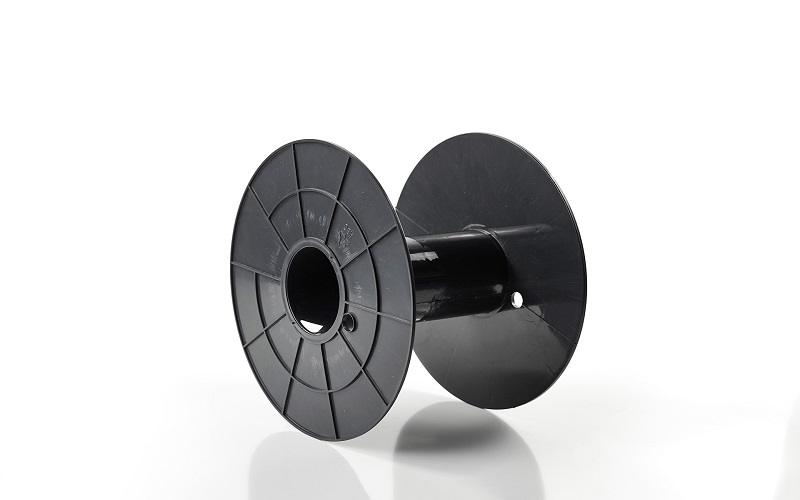
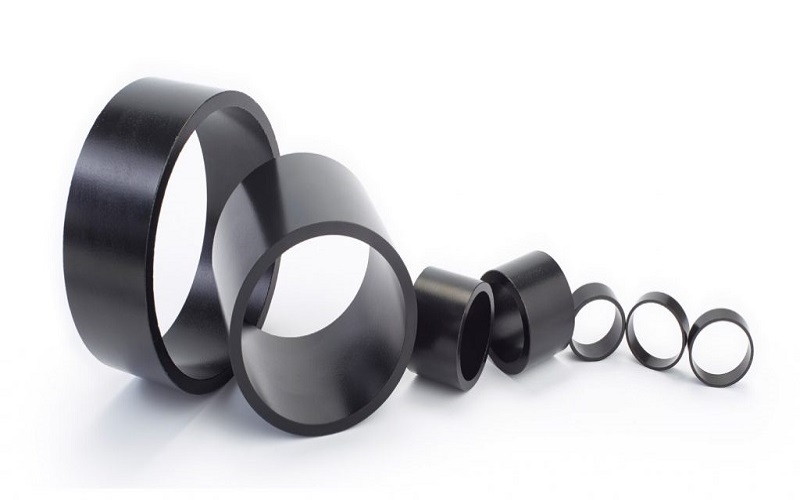
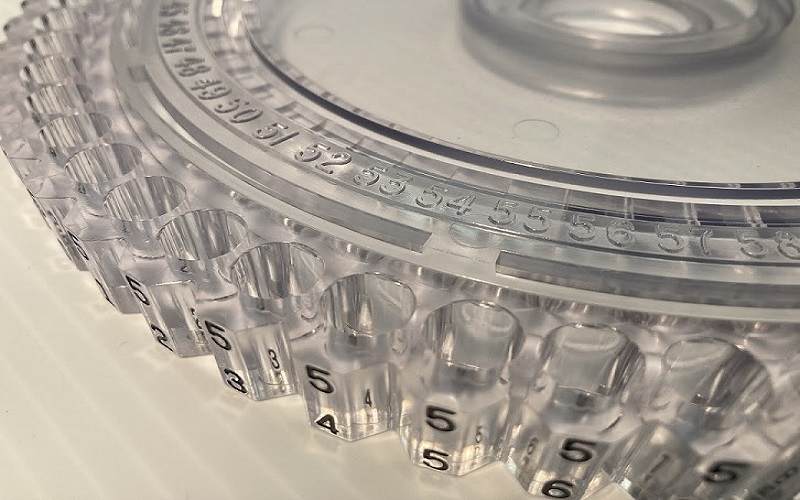
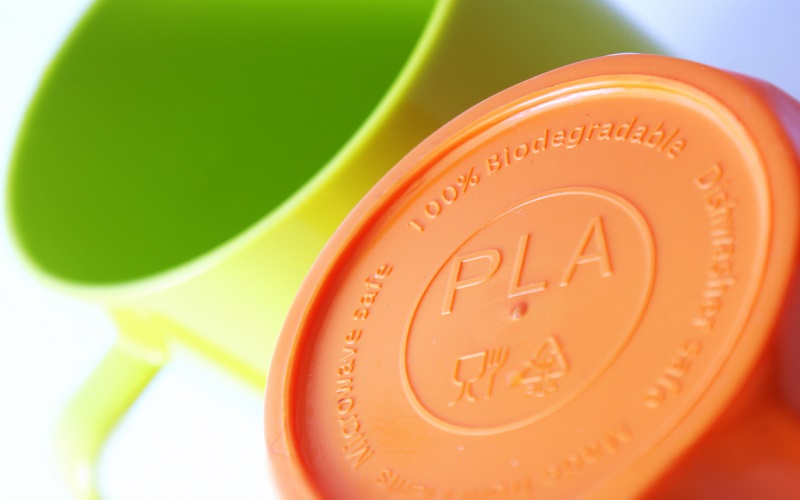
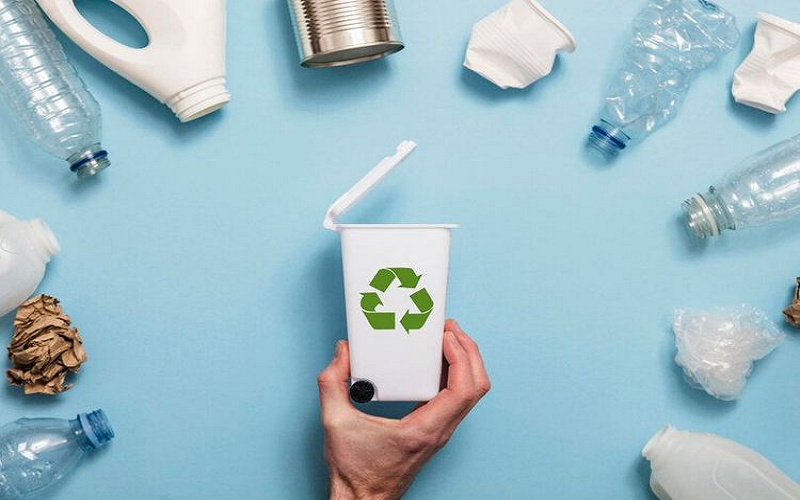
Injection molding is the most often used production technique for plastic components. The method entails mould design, creating a mold, and then melting plastic resin granules and injecting them into a mold under pressure.
To make things as basic and straightforward as possible, let’s divide the plastic injection molding process into three stages:
When it comes to creating an injection molded component, the part design will be crucial. You must verify that the item is developed with injection molding in mind.
Several critical product design elements are as follows:
Part tolerance for injection molding is another component of product design that is sometimes ignored. Many factors contribute to injection molded part tolerances being wider than metallic tolerances, including the fact that shrink rate is not a consistent percentage, tool layout, wall thickness, injection placement, stress, and material flow, all of which play a role in what is possible and replicable. Anybody can make an excellent part once, but in industrial production, who can make 100,000 or 1,000,000 pieces repeatedly is what counts.
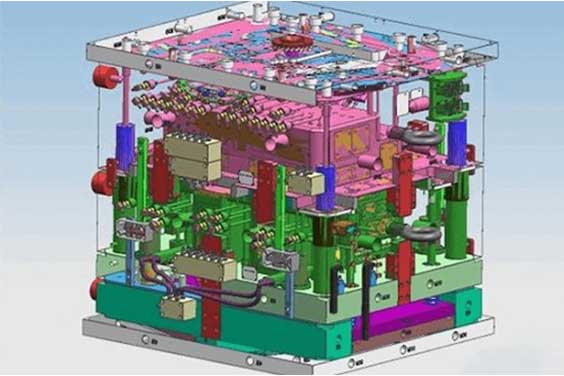
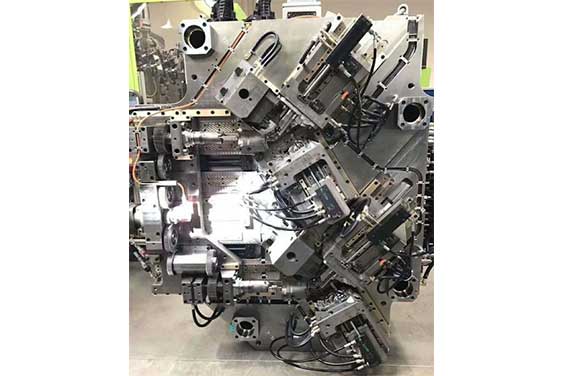
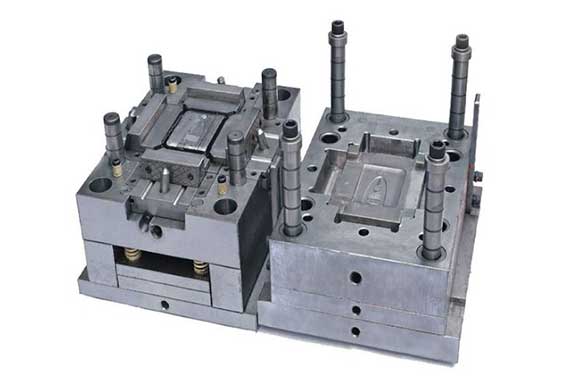
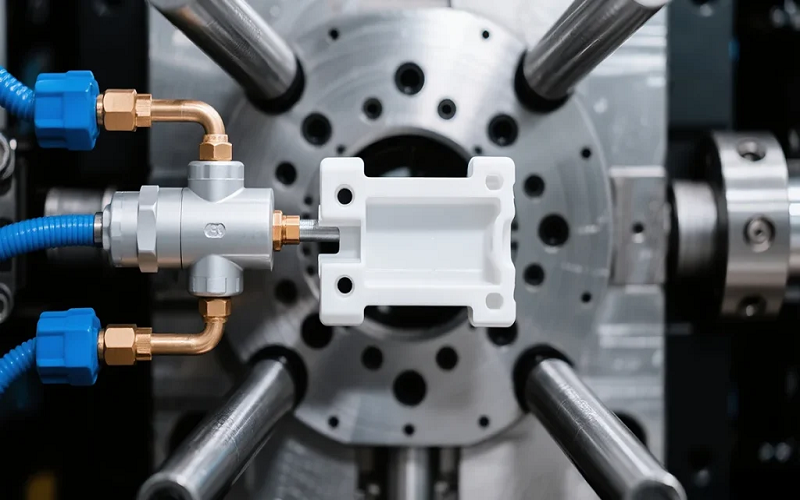
The quality of a component begins with a well-built mold. When looking for a new injection molded component, we all make the error of trying to cut shortcuts to reduce mold costs. If the tooling is not made properly, there will be quality defects down the road.
To avoid defects and satisfy quality specifications, you and your molding too lmaker must collaborate to create a mold that will properly produce the parts you require. This is a difficult process since the mold design may need part redesigns at times.
Depending on the use, tools are generally constructed of hardened tool steel or aluminum. Aluminum tooling is generally utilized for prototyping or when a small number of pieces are required. Steel is the more costly material, but it is usually the more durable of the two alternatives. Steel molds are nearly always used by manufacturers who require 10,000 or more components.
We divided the production process into five easily comprehensible steps. Each step is significant and plays a key role in part and tool design. The following are the five phases of the plastic injection molding production process:
Loading the hopper with plastics that go into the injection molding machine’s screw barrel is the first step in the injection molding process. The heating bands aid in the melting of the pellets, but the resistance melts because it is compressed by the tapered screw. This is since the pellets are ‘rubbed’ together, creating tremendous heat. By the end, the pellets have transformed into a molten state.
The screw then forces the molten plastic into the mold chamber, where it forms and begins to cool. This stage is critical since if adequate pressure is not applied, the cavity will not be entirely packed, leading to quality concerns. The injection molding press size needed will be determined by the part size and cavitation.
Coolant lines, generally filled with water, flow through into the mold to keep the mold temperature stable, allowing the component to cool faster. Because of the insulating characteristics of plastics, the cooling step is the most time-demanding part of the injection molding cycle. Plastic reduces in size as it cools down and solidifies. Shrinkage must be factored in by the mold maker.
When the mold has cooled, it opens, and the plastic item is expelled by the mold’s built-in ejector pins. Ejector pin markings may be seen on almost any plastic item you have lying around the home. The mold will then be reclosed to continue the procedure.
One of the final steps of this operation is when a machine operator must physically twist or chop the sprue, runner, or gate from the molded item, depending on the mold design. A hot runner method removes runners and sprues, therefore reducing waste. Unfortunately, heated runners will raise the price of the tool.
Plastic injection molding service has made tremendous progress over the years, and it is an excellent method of creating items on a big scale with minimum labor needs. While it may appear that melting plastics and injecting them into a mold is a straightforward process, there are numerous critical elements of the configuration, tooling, and manufacturing processes that will necessitate working with an injection molder who understands how to meet your special needs.

Please contact us using the form below or emailing (harry@fowmould.com)